The $40 Sound Lab: Six Reversible Tweaks That Reshape Your Keyboard's Voice
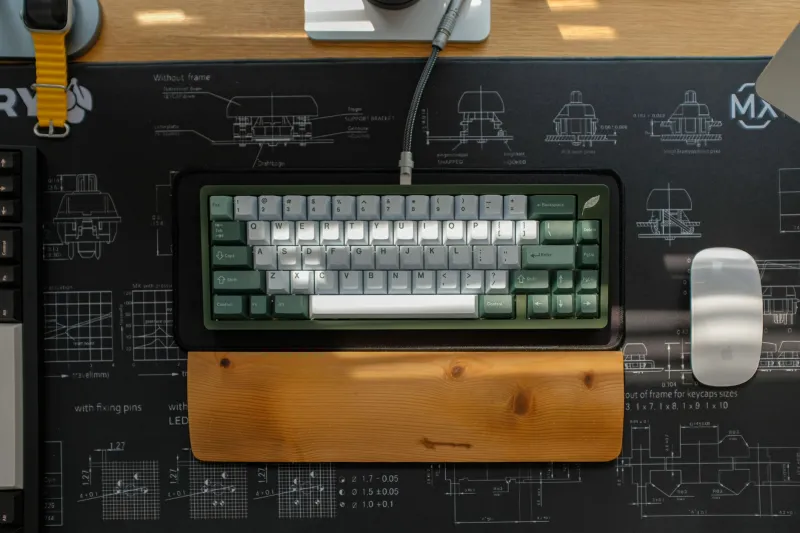
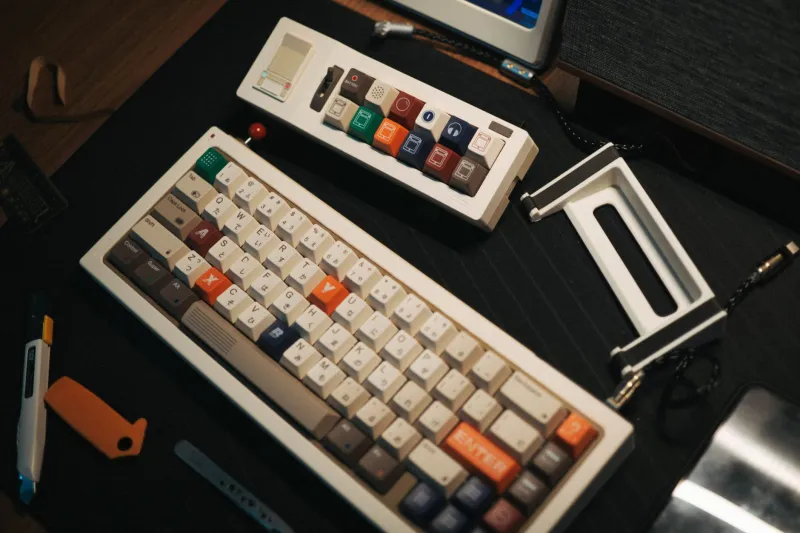
Thock has had a good run. It is a satisfying word, and a satisfying sound, but it is also a trap. New builders hear a deep, woody board and assume the switches are doing all the work. Usually they are not. The switch is one voice in a choir that includes the case, the plate, the keycaps, the stabilizers, the desk, and the room. The good news: you can change the choir without buying a new set of switches. The better news: most of the changes below are cheap, reversible, and easy to A/B test in an afternoon.
Build a baseline before you build a sound
Before you add foam or tape, record a baseline. Use your phone at a fixed distance, type the same paragraph, and save the file with the date. Do this in the room where you actually work. A keyboard that sounds great on a YouTube video can sound thin on a glass desk and muddy in a carpeted office.
A/B testing rule: change one variable, then live with it for at least a day. Quick swaps are seductive, but ear fatigue is real. If you change foam, tape, and keycaps in one sitting, you will not know which change you liked. Keep a notes file: mod, cost, first impression, one-week impression, and whether you kept it.
1. Case foam: room treatment for a plastic box
Case foam is the cheapest way to make a hollow board sound more solid. Polyfill from a craft store runs about $5, and a sheet of 1/8-inch neoprene or closed-cell foam is usually $8 to $12. You do not need a custom-cut kit. Loose polyfill is easier to remove and less likely to press on the PCB.
Safety notes: unplug the board, remove the battery if it is wireless, and do not block USB ports, screws, or ventilation. Avoid conductive foam or anything with metal foil. If your board has a wireless antenna, keep foam away from it. Test the board before you close the case.
Is it reversible? Yes. Polyfill pulls out. Adhesive foam is less reversible, so start with non-adhesive material.
2. The tape mod: a little pitch control
The tape mod means adding two or three layers of painter's tape or masking tape to the back of the PCB. It can raise the pitch and tighten the sound, especially on budget boards. Painter's tape is about $5 a roll and comes off cleanly if you are careful.
Do not tape over hot-swap sockets, screw holes, or any battery or charging circuit. On wireless boards, avoid covering antennas. Use tape that is not conductive, and never use foil tape. If you are not comfortable removing the PCB, skip this one; a case foam change will get you most of the way there.
A/B method: record with one layer, then two. More layers is not automatically better. Many people prefer one layer plus foam.
3. Plate and case materials: the frame sets the tone
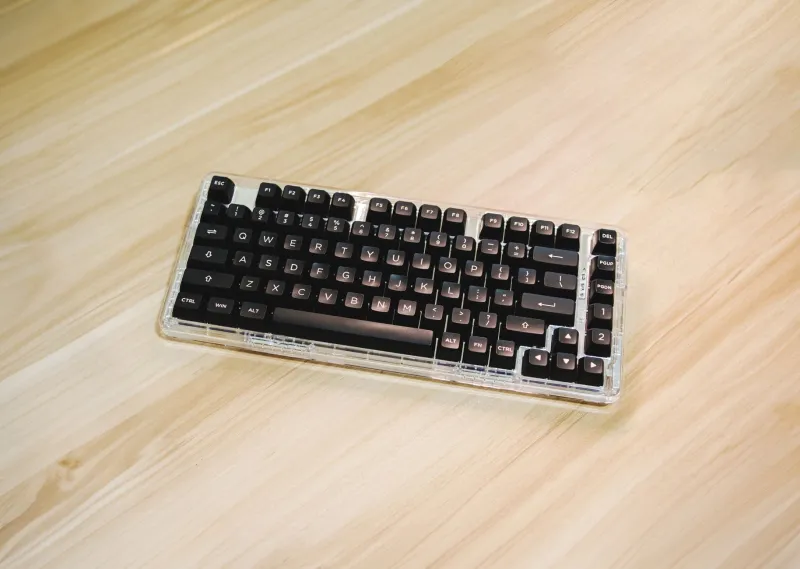
You cannot easily change a case material, but you can choose your next board with sound in mind. Aluminum cases tend to sound sharper and more resonant; plastic cases can sound warmer but hollow. Plates matter too: FR4 and POM are popular for a softer, lower sound; brass and aluminum add stiffness and brightness.
This is the least reversible category. A replacement plate might cost $25 to $45 and only fits specific boards. Before buying, check that your PCB and layout support it. If you are not ready to open the board, spend the money on keycaps or stabilizers instead.
4. Stabilizers: fix the rattle first
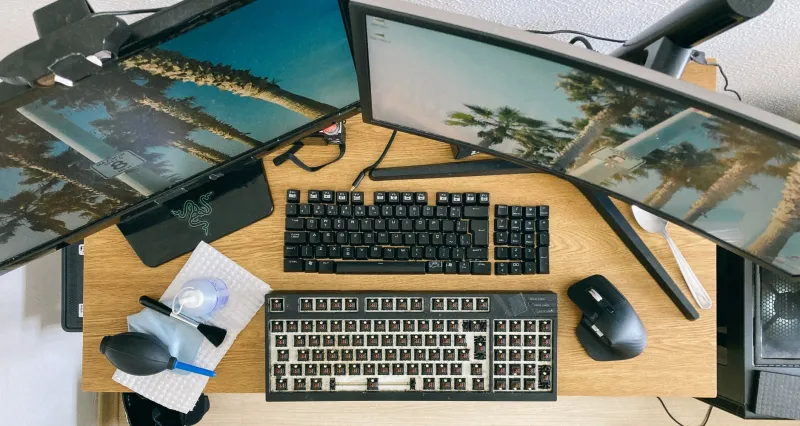
A board with rattly stabilizers will never sound expensive. Before you chase thock, tune the stabs. You need dielectric grease (about $8), a small brush, and patience. Clean the wires, apply a thin layer of grease to the wire ends and the housing where the wire moves, and check for binding.
Do not over-lube. Excess grease collects dust and can make the keys feel sluggish. If your stabs use clips or screws, make sure they are seated evenly. A tiny piece of PTFE tape or a band-aid mod can reduce rattle, but keep it tidy and removable.
Is it reversible? Mostly. Grease can be cleaned, but it is messy. Do one stabilizer first and test it.
5. Keycaps: the fastest tone knob
Keycaps change sound more than most people expect. Thick PBT caps tend to sound deeper and more muted; thin ABS caps can sound brighter and clackier. Profile matters too: tall sculpted caps and flat caps move sound differently.
A basic PBT set runs $35 to $80 in the US. You do not need a group buy. Swap the alphas first and record. If the board sounds too bright, try a thicker set. If it sounds muddy, a thinner or taller profile might help. Keycaps are completely reversible and easy to resell.
6. Targeted lubing: a scalpel, not a bath
Lubing gets blamed for everything, but targeted lubing can help. A small vial of switch lube is $10 to $15. For linears, a thin film on the stem and spring can smooth the sound. For tactiles, avoid the legs unless you want to reduce tactility. For stabilizers, grease is the right tool.
Do not drown the switches. Start with two or three switches and test them in the board. Lubing is not easily reversible; you can clean it, but it is tedious. If you are unsure, leave the switches alone and work on the case and stabs.
The order that saves money
Start with a baseline recording. Then try case foam, then the tape mod, then stabilizer tuning, then keycaps. Plate swaps and lubing are last because they are more invasive. A $40 afternoon can change the voice of a board more than a $40 switch set.
Which mods are worth reversing
Foam, tape, keycaps, and most stabilizer tweaks are reversible. Plate swaps are reversible only if you keep the original plate. Lubing is the least reversible. If you like a change, write down the exact materials and layers so you can repeat it. If you do not, put the stock parts back and sell the extras. The goal is not to chase someone else's sound; it is to make your board sound like it belongs on your desk.